




Forums
IRC Chat
Signatures
Goal Signatures
Calculators

Mini-Game Guides
Miscellaneous Guides
Guild Guides
Treasure Trails
Agility
Combat
Achievement Diaries
Construction
Cooking
Crafting
Farming
Firemaking
Fishing
Fletching
Herblore
Hunter
Magic
Mining
Prayer
Ranging
Runecrafting
Slayer
Smithing
Summoning
Thieving
Woodcutting


Contact Quest

By: Data/Loggy
This quest is members-only.
Start Point: Talk to the High Priest in Sophanem
Quests Requirements: Must have completed the Ictharlin's Little Helper and Prince Ali Rescue Quests
Skill Requirements: Must be able to defeat a level 191 Giant Scarab, as well as other high level enemies, and withstand various traps; high combat recommended
Item Requirements: Tinderbox, Light Source; high level armour, weapons, food, prayer potions and stat-boosting potions highly recommended, as well as Desert Survival Equipment
To begin this quest, talk to the High Priest in Sophanem, located in the southwest temple in the city. You can easily get to Sophanem by taking the carpet from Shantay's Pass to Pollnivneach, then heading south to the other carpet station, and taking a carpet from there to Sophanem; 200gp a ride, unless you've interacted with Ali and whatnot in the Rogue's Trader and that type of thing - then the rides are only 100gp. There is no bank in Sophanem, though all you need for now is a light source, a tinderbox, some food, and maybe an anti-poison. Teleport to Al Kharid is also recommended, or, at the least, Lumbridge.
At any rate, find the High Priest and talk to him about a new quest.
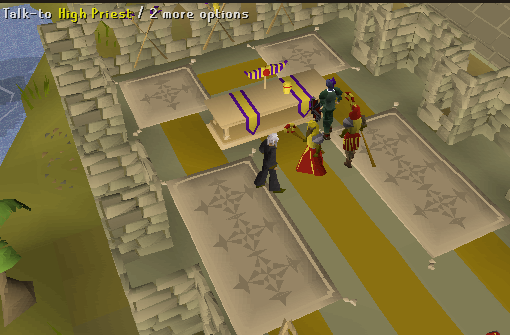
He will tell you about his quest to get Menaphos to release their Quarantine on Sophanem, for many of Sohpanem's citizens are now in Menaphos, and the High Priest wants them to know it is okay to enter the city. However, when he tries to contact Menaphos about this, he is not met with cooperation; a cutscene will show you this.
He asks you to get into Menaphos for him and contact his peoples. After that, you can ask him about possible ways into the city; ask him about approaching the city from under the ground. He will tell you about the 'lesser-diety' Scarabas, whose followers were good with tunnels and the like. He suggests talking to Jex, the caretaker of yonder Temple of Lesser Dieties. Head to the Temple of Lesser Dieties on the northeast side of town, and talk to said caretaker, Jex.
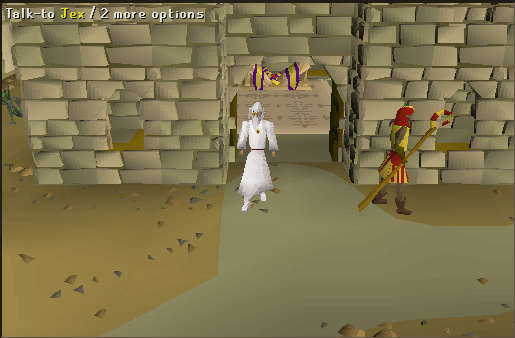
You will engage him in conversation about the Lesser Dieties, and he tells you that a bit ago some scarabs burst up from the basements and trashed the place. The scarabs were fought off into some sort of dungeon, and you decide to go check it out, being the brave stud you are. Ol' Jex gives you some advice, including how to open the trapdoor leading to said scarab beasties, as well as blessing (oh joy).
Climb down the ladder in the corner of the temple when you are ready, and then open up the trapdoor and enter. The thoughtful guards will keep whining and giving you advice. Listen to them though, you cynical, cocky adventurer. The next part is extremely dangerous, so read the next couple paragraphs closely.
If you've actually been reading and paying attention to what I have written about this particular quest, you should have brought with you a light source, a tinderbox, food, and possible an anti-poison, as well as a teleport out, desirably one that gets you near Al Kharid. You're going to need at least the first three said items. The guards that warn you an execessive amounts of time will sell you an unlit torch for 200 gp and a tinderbox for 50 gp, if need be.
When you've gone down the trapdoor, you will be in a maze - a pyramid-like maze. You may or may not have done some other desert quests - if you have, then you're probably familiar with the fact that pyramid mazes can be dangerous. This one is no exception. From your start point, you will have to make your way to the other side of the maze to another ladder. Use the map shown below.
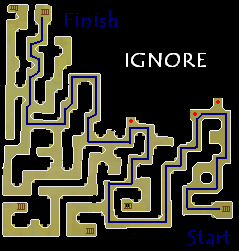
Simply follow the blue line (look out for traps though; read on for more info). The red dots indicate paths that lead to other parts of the maze that do not concern you, and you'd be better off not sticking your nose where it doesn't belong. Anyway, follow the blue line, to your destination, but be wary!
Throughout the maze, there are many traps; three different kinds, and one obstacle (of sorts). There is one trap set into the ground; this one is easily seen as holes in the floor. The one on the wall is not as easily seen; be sure to check each wall before you run by it for a trap. If there is a trap, you can select to inspect it, and try to get past. The floor traps require good agility to get past, while the wall traps require good thieving to disarm. Be careful, though, for they can hit quite high; 17 or so.
Maybe once or twice you will see a sort of mound-hole in the ground; stay clear of it. If you disturb it, you will awake a school of scarab beatles, who will chase after you and bite and are not very fun; they could even poison you. That leaves the obstacle - the wall crushers, as they are called.
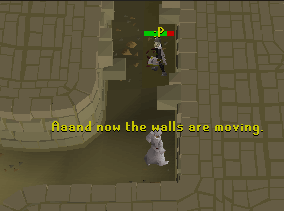
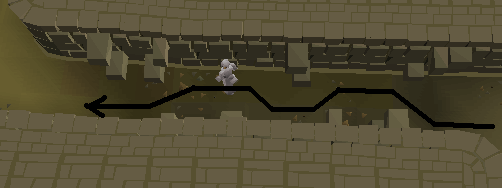
They may seem destructive and painful - which they are, or at least as much as heavy thrusting walls can be inside a pixelated MMORPG - but if you handle them right, they are easily surpassed. If the crushers are on the left side, walk on the right till the next set of wall crushers that are on the other side of the wall; then quickly walk diagonally over, as shown with the black line in the picture below.
The last trap/obstacle in the maze - and perhaps the most dangerous one - are the little golden scarab symbols that are on the walls at various points. Look out for these, and when you see one, stay clear of it!
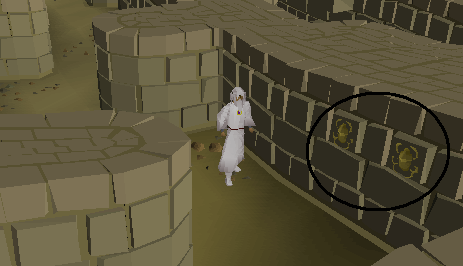
Do NOT stand directly in front of it; walk around it. If you do happen to get stuck in front of it, there is a good chance that you will be plummeted to the multi-combat dungeon below, which is filled with the same enemies that you will encounter in the maze.
Speaking of the monsters in the maze, there are three types you will encounter. You will mostly see Scarab Mages - funny looking insect guys who never seem to be a good mood. They will cast a spell at you that looks sort of like a mace head flying at you, and it can hit very high; around the same as the traps - 17 or so.
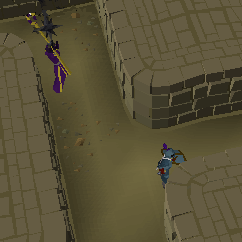
You may also find yourself near a Locust Rider - Locust Riders are tough warriors, mounted atop massive locusts. They are quite dangerous as well. Lastly, if you disturb their mound, you will awaken scarab beatles, which, as I've said, can be annoying and even poison you. If you find yourself near any said monsters, do your best to run away from them, but be wary of traps.
When you finally reach the exit ladder, go down it (duh). You will be in a cave that is not dangerous at all - in fact, its quite pretty. Anyway, follow the path till you come to a large room. You will see the corpse of Kaleef, and you can search him. Do so, and you will find a parchment.
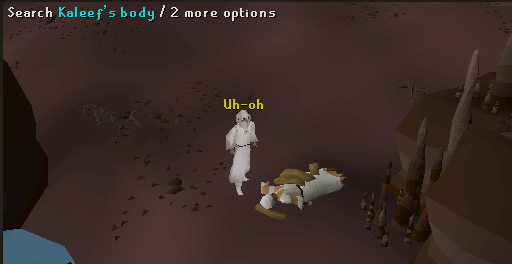
The parchment addresses Kaleef of his mission - which was to contact an agent in Menaphos, using the tunnels beneath the Temple of the Lesser Gods. What is this new bit of plot? You'll have to keep going to find out!
Continue into the big cavern till you come to a large ravine. You will see a figure across it; talk to it.
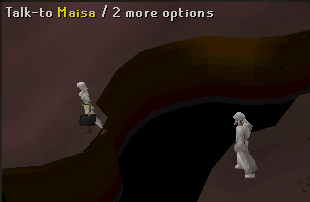
The figure is Maisa, some fool wearing a ridiculous disguise. You eventually deduct that she needs to contact Osman, the Spymaster you worked with in the Prince Ali Rescue quest. You offer to contact Osman for Maisa, but she does not trust you, so she quizzes you based on some stuff from the Prince Ali Resuce quest. The answer to question one is "Draynor Village", and the answer to question two is "Leela". She will then trust you, and ask you to bring ol' Osman to her. Head out to Al Kharid.
When you reach Al Kharid, look around the palace for the Spymaster Osman - he's got dark robes on and a hood. Ask him about Sophanem, and he will tell you a bit more about the situation - how Al Kharid and the Menaphites are enemies, and Osman has been doing things there to settle some scores. You tell him what you're trying to do, and that Maisa wants to get out, and that he needs to go personally. He doesn't want to, but if you tell him that it will establish a wedge betwix the two cities, he will agree. He has to go do something first, so prepare to head out back to Sophanem.
Before you leave, bring the best combat gear you have - melee will probably work the best. Bring your best food, as well as some prayer potions, and an anti-poison to be safe. Bring a Ring of Life or some other way of getting out if you're in trouble. And, of course, don't forget your light source and tinderbox.
When you are ready, return to Sophanem. Osman will be waiting right outside the city gates. When you talk to him, he tells you that he's too old to be scaling city walls, and needs a way in. Tell him about the secret passage to the north, from the Ictharlin's Little Helper quest. Osman decides to take this route, and a cutscene shows him sneaking into the temple.
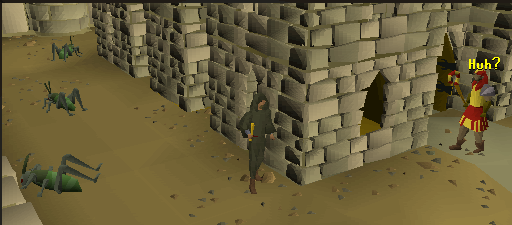
After that, head into Sophanem, back to the Temple of the Lesser Dieties, and head back down into the maze. Take the same route you took before, and be wary of traps and enemies. When you climb down into the same cave, a cutscene will show Osman giving instructions to Maisa. Towards the end of their talk, however, the ground begins to shake.
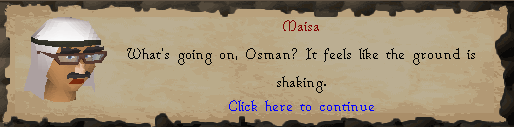
Maisa runs off, and Osman begins to run, but a Giant Scarab pops up and attacks him. Osman dissappears. After this, run back to the large cavern where Kaleef's body is, and find the Giant Scarab. The fight will begin!
The Giant Scarab will cast some pretty damaging spells if you are not near it. It's melee attack hits high as well when close. Choose whatever protection prayer applies to your fighting style. While you are fighting the Giant Scarab, three other enemies will appear to help it - a Scarab Mage, and two Locust Riders - one a ranger, the other a warrior. They can deal moderately high damage, but focus your attacks on the Scarab Mage - if you kill any of the other enemies, another one will appear and take its place.
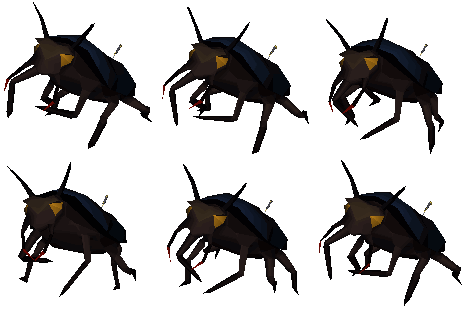
Be sure to watch your health and keep eating, and don't forget to drink a prayer potion as much as you need to. It is a difficult fight, but if you are strong and pay attention, you can pull through. When you have defeated the Giant Scarab, Osman will reappear, and tells you that he slipped into the shadows to keep from harm (how brave of him). He will thank you and give you Keris - Kaleef's Dagger - as a reward. Go back to the High Priest in Sophanem and talk to him to finish the quest.
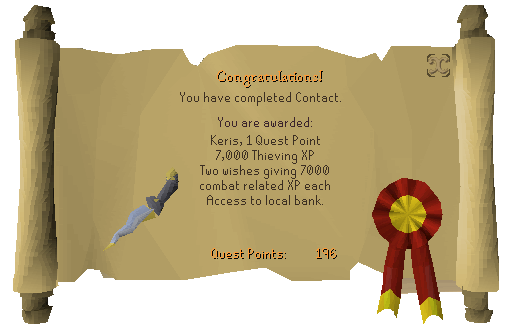
Congratulations! Quest Complete!
Rewards: 1 Quest Point, Keris (Kaleef's Dagger), 7,000 Thieving Experience, two EXP lamps of 7,000 EXP each for any combat skill, and access to the bank in Sophanem, under the Temple of the Lesser Dieties
Keris, Kaleef's Dagger, is extremely effective against Kalphites. Wielding it will drain your prayer.
 Back to Top
